Pre-requisite
Scenario
In this lab, we’ll start by creating a new React application and submitting it to a GitHub repository. The repository will then be linked to AWS Amplify web hosting and deployed to a globally accessible content delivery network (CDN) hosted on an amplifyapp.com domain.
Then, we’ll show off our continuous deployment capabilities by making changes to the React application and pushing a new version to the main branch, which will automatically start a new deployment.
What you will accomplish
In this lab, you will:
- Build a React application
- Create a GitHub repository
- Use AWS Amplify to deploy your app.
- Make code changes and re-deploy your app.
Pre-requisite
-
Doing labs with the Chrome or Firefox browsers.
-
Install Git on your computer and add SSH keys to your GitHub account.
Create a new React App
- Launch Visual Studio Code (VSC).
- Log in to VSC with your GitHub account.
- Select New Terminal from the Terminal menu.
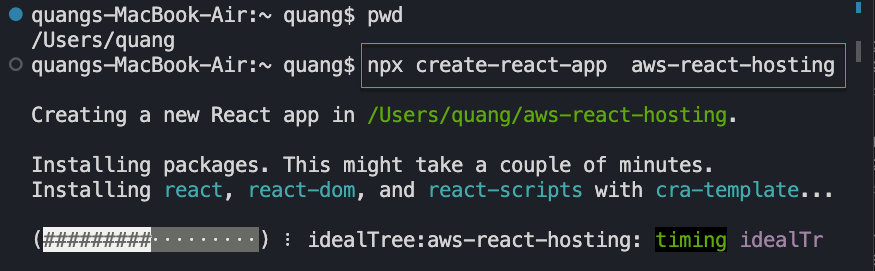
- Use the command (The new React app is called aws-react-hosting):
npx create-react-app aws-react-hosting
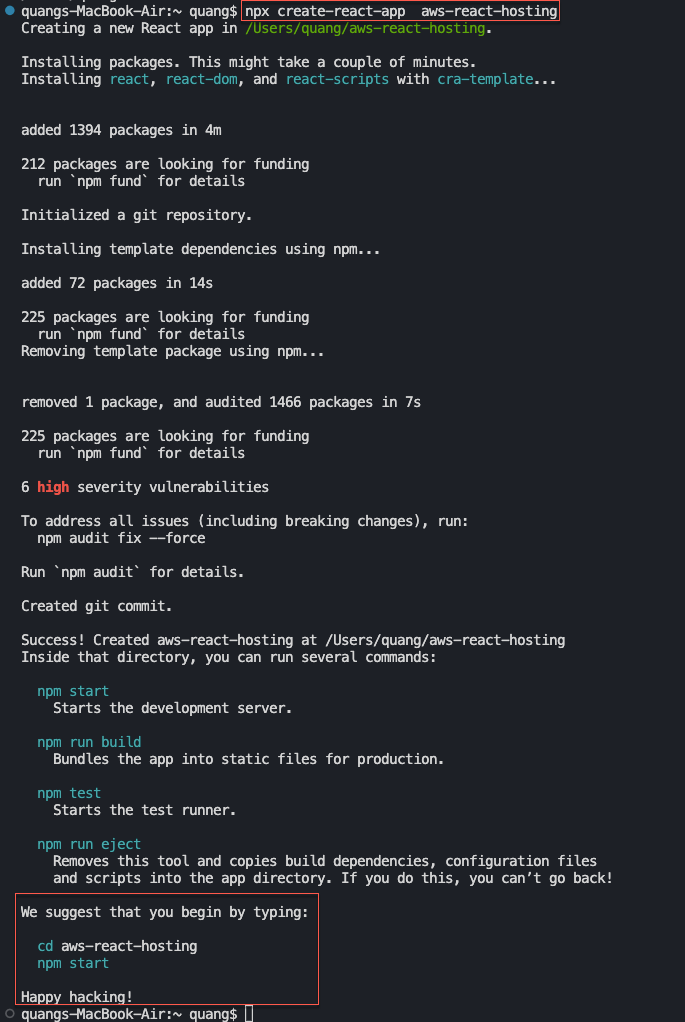
- The project is created so now let we try to open the folder in the VSC here.
cd aws-react-hosting
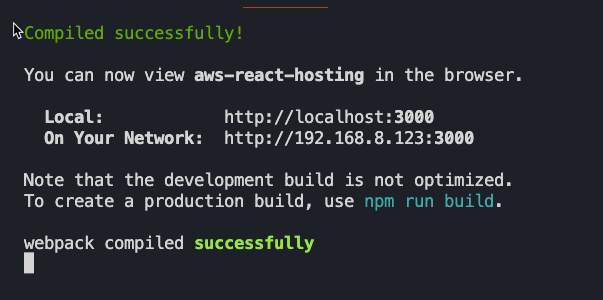
- So to run the React app, we can type:
npm start
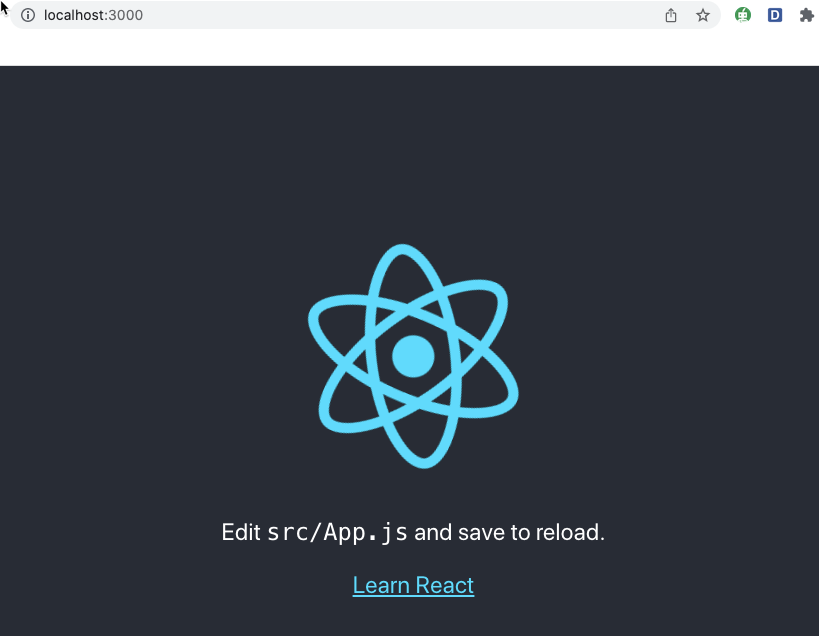
It is now up and running on localhost right here (localhost:3000)
The next step is to create a new Github repo.
Create a new Github repo
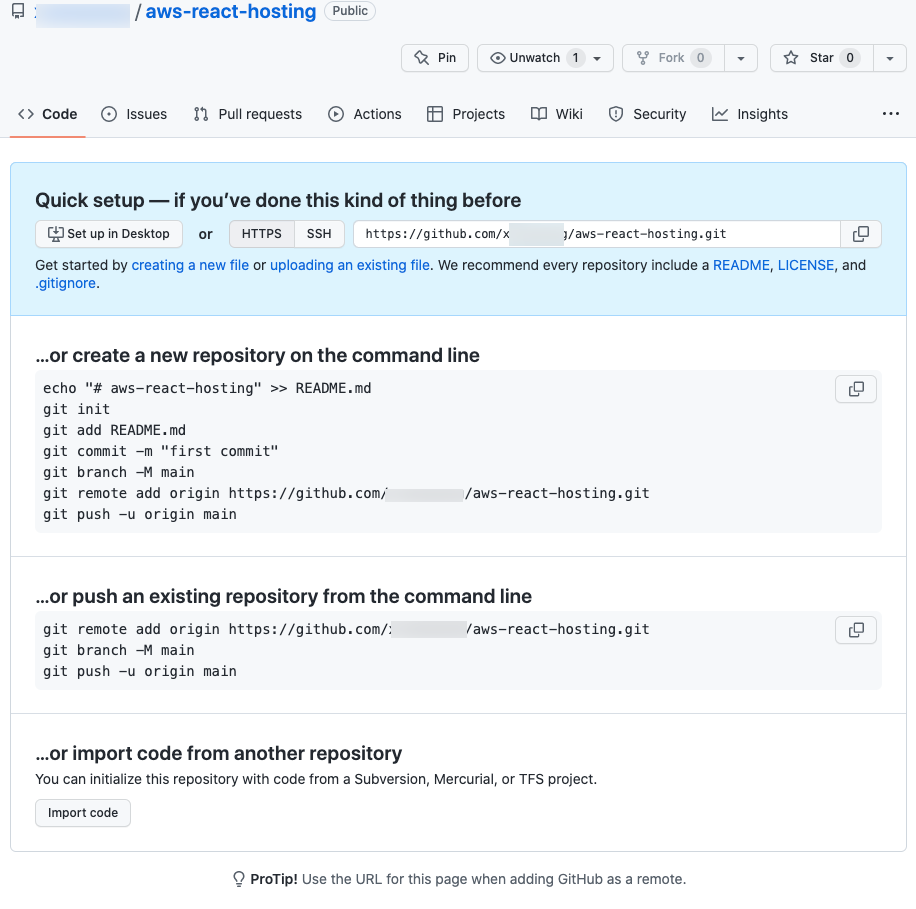
- Go to Create a new repository
We will need to give this a name, let’s just call this aws-react-hosting same as the folder name. Click on the Create repository button.

All right, so now it is created so these are some of the comamnds that we can use to run.
Upload your React Native app to the Github repo
-
Go back to VSC. The VSC is navigating to the React folder (aws-react-hosting folder) Let’s try to open up a new terminal window:
- To open another terminal window, click the + Developer Command Prompt button in the terminal window.
- As we can see, VSC has two terminal windows: node running the React app and bash we just created.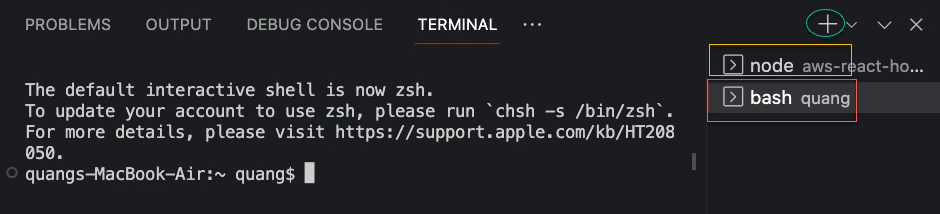
-
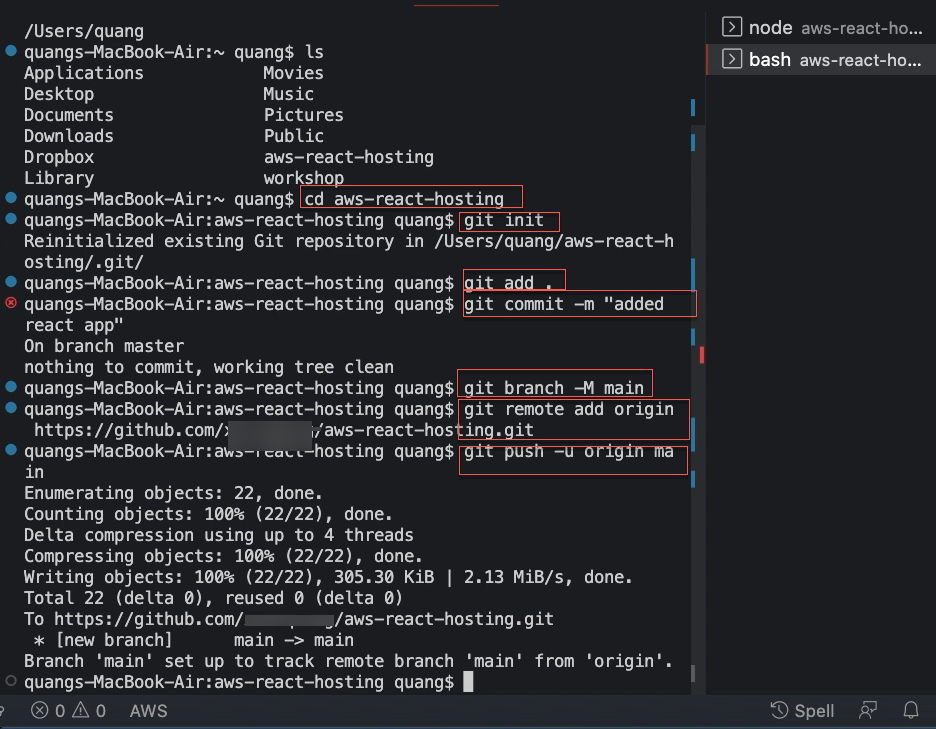
We just want to push all of the necesary code locally onto the Github repo. So to do that, you just need to run:
git init
git add .
git commit -m "added react app"
git branch -M main
git remote add origin <https://..... git>
git push -u origin main
The URL endpoint <https://….. git>: you copy it from your GitHub repo.
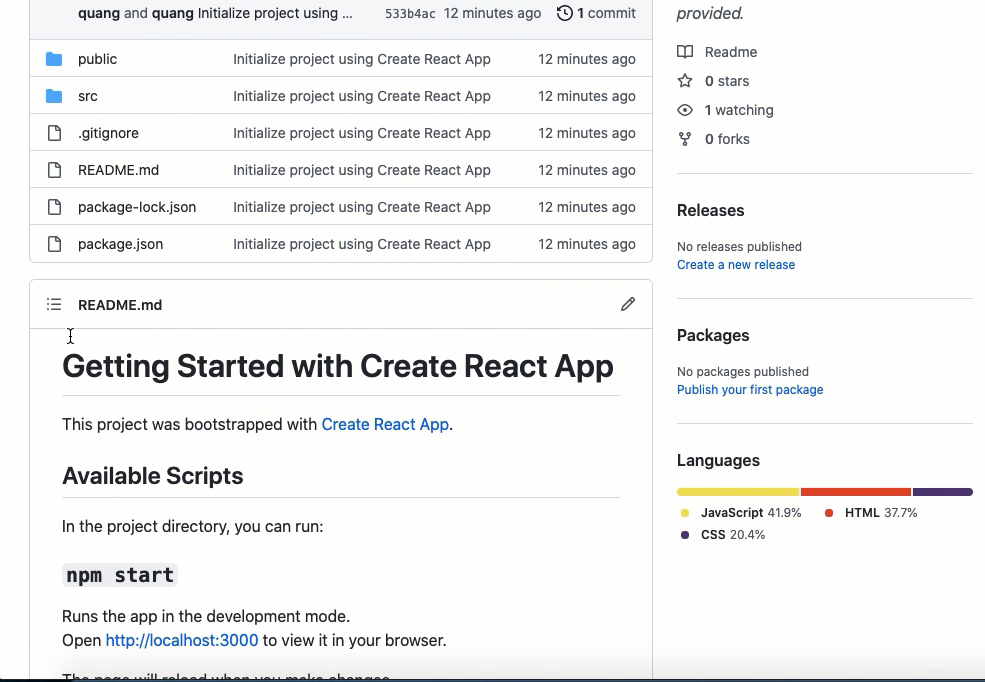
It will push all of the files to the Github repo. That’s done.
Going back to your Github repo. Refresh this and you can see that all of the important files are uploaded here excluding the node modules.